1、首先使用wpa_passphrase生成无线密钥
| sudo -i
wpa_passphrase 无线名称 密码 > /etc/wpa_supplicant.conf
|
2、接下来编辑 /etc/wpa_supplicant.conf
1
2
3
4
5
6
7
8
9
10
11
12
13
14
15
16
17
18
19
20
| ctrl_interface=/var/run/wpa_supplicant
ctrl_interface_group=0
ap_scan=1
network={
ssid="OpenWrt_2.4G_4680A1"
proto=RSN
key_mgmt=WPA-PSK
pairwise=CCMP TKIP
group=CCMP TKIP
psk=0192c3b3469fcf872387c0e069fee5731ce7f8782654e1a5caa0c165700e76c8
}
network={
ssid="my_network" #注意ssid名区分大小写。
proto=RSN #Robust Security Network:强健安全网络,表示这个网络配置比WEP模式要更安全。
key_mgmt=WPA-PSK #请无论你是使用WPA-PSK,WPA2-PSK,都请在这里输入 WPA-PSK。这在wpa_supplicant看来WPA-PSK,WPA2-PSK都是 WPA-PSK
pairwise=CCMP TKIP #关键点,wpa_supplicant目前还不认AES的加密标准
group=CCMP TKIP #同上
psk=7b271c9a7c8a6ac07d12403a1f0792d7d92b5957ff8dfd56481ced43ec6a6515 #wpa_supplicant算出来的加密密码。
|
3、以上配置文件设置完成后,接下来手动应用配置
| sudo wpa_supplicant -B -i wlan0 -c /etc/wpa_supplicant.conf
sudo dhclient wlan0
|
4、为了开机自动开启wifi,需要将启动脚本加到自动执行服务中,首先在/etc/init.d/(任意目录)中写上需要开机启动的脚本
| ➜ ~ cat /etc/init.d/wifi.sh
#!/bin/bash
sudo wpa_supplicant -i wlan0 -c /etc/wpa_supplicant.conf -B
sudo dhclient wlan0
|
在/etc/rc.local中写入以下
➜ ~ cat /etc/rc.local
#!/bin/bash
sh /etc/init.d/wifi.sh
exit 0
➜ ~ chmod +x /etc/rc.local
|
然后在 /etc/systemd/system 目录中写上开机启动的systemd文件。
|
➜ system cat rc-local.service
[Unit]
Description=/etc/rc.local Compatibility
ConditionPathExists=/etc/rc.local
[Service]
Type=forking
ExecStart=/etc/rc.local start
TimeoutSec=0
StandardOutput=tty
RemainAfterExit=yes
SysVStartPriority=99
[Install]
WantedBy=multi-user.target
|
执行 systemctl enable rc-local
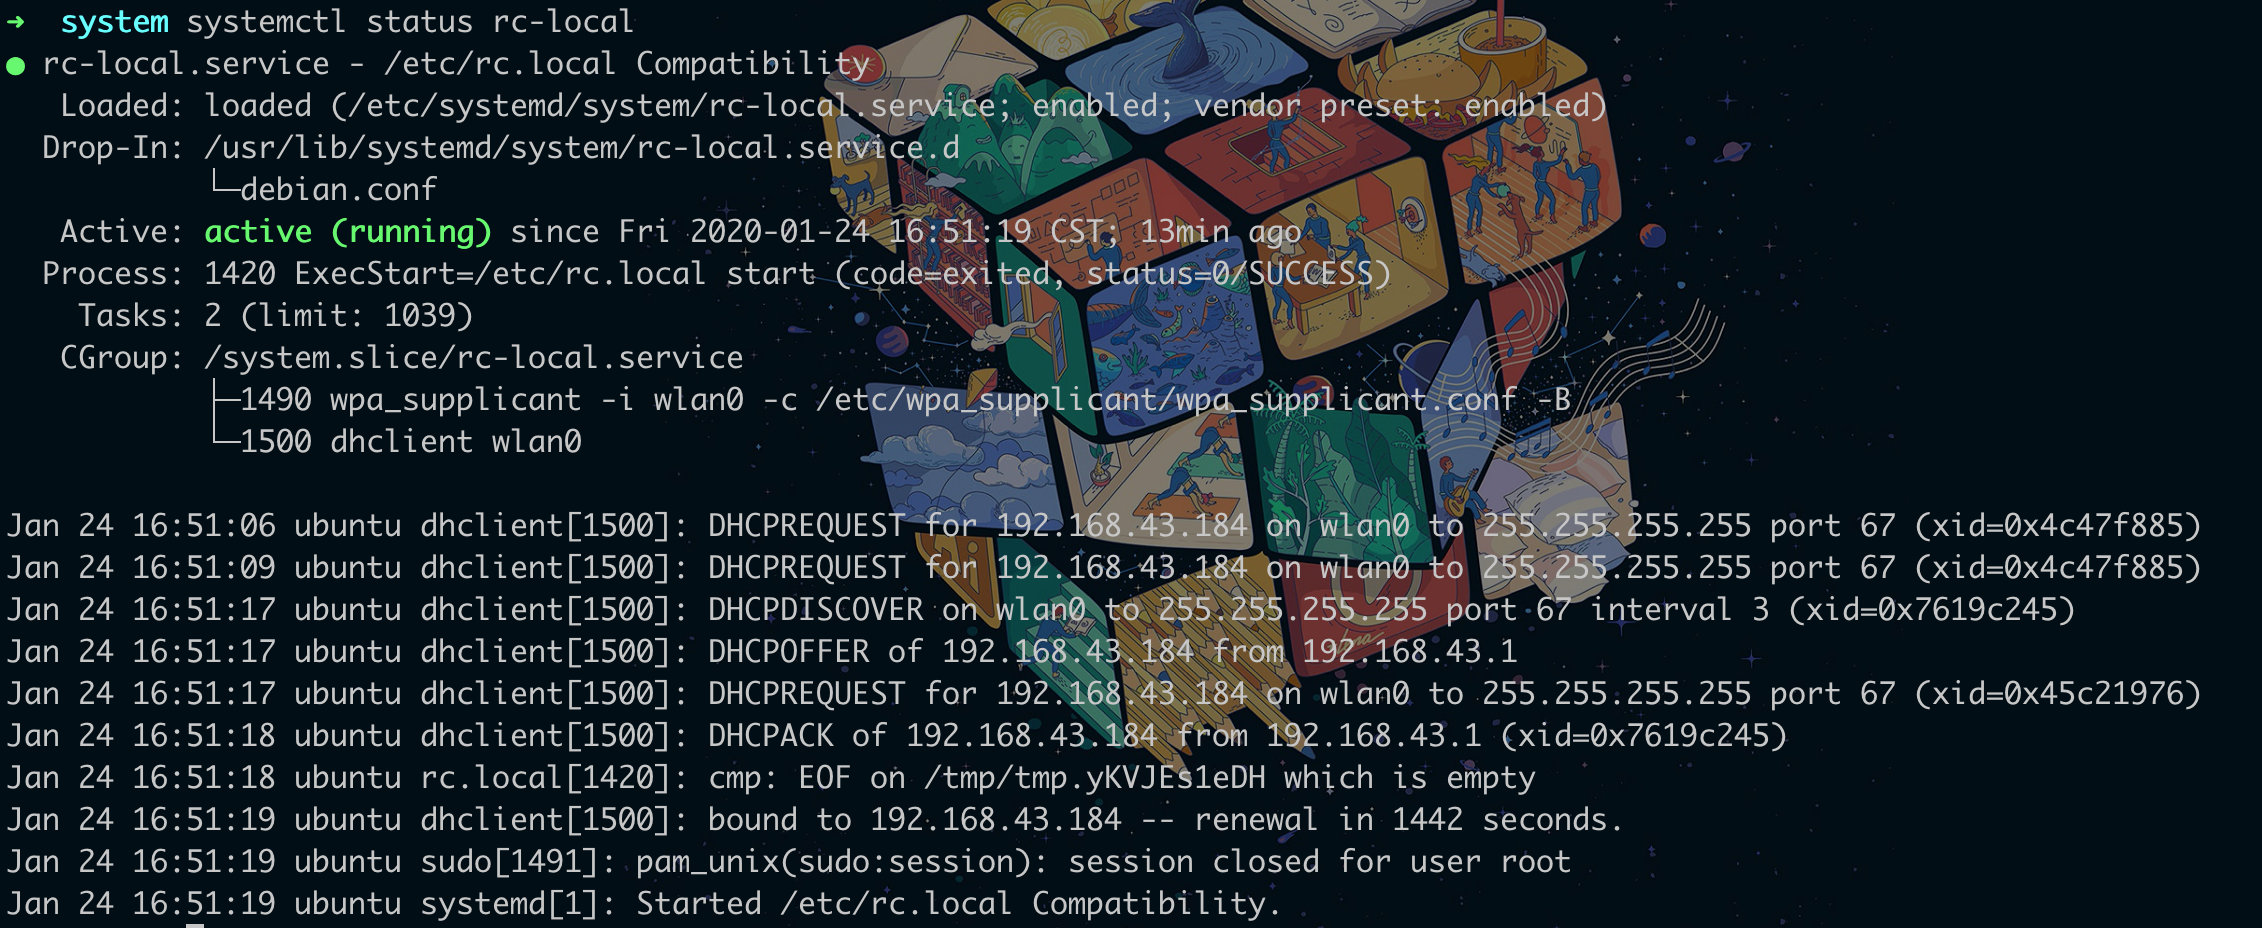
重启后可以发现,已经能自动连上wifi,并且 systemd能看到已经启动


|