apisix与consul服务发现的结合使用
首先简单介绍一下apisix,是一个机遇openresty开发的云原生网关。功能类比于nginx+upsync 可无reload,apisix支持自身配置放在etcd中,原生高可用架构。并且支持 consul eruka nacos。
实践逻辑如下
安装以下实验环境
以下三个点作为验证环境的安装步骤。
1 | |
验证逻辑
1 | |
Install Consul
download consul
1
wget https://releases.hashicorp.com/consul/1.7.3/consul_1.7.3_linux_amd64.zipunzip to
/usr/bin
1 | |
create consul service file
1
2
3
4
5
6
7sudo vim /lib/systemd/system/consul.service
[Unit]
Description=consul
[Service]
ExecStart=/usr/bin/consul agent -config-dir /etc/consul
KillSignal=SIGINTcreate server json file
1
2
3
4
5
6
7
8
9
10
11
12
13
14
15
16
17
18sudo mkdir /etc/consul/
sudo vim /etc/consul/server.json
{
"data_dir": "/var/consul",
"log_level": "INFO",
"node_name": "test",
"server": true,
"ui": true,
"bootstrap_expect": 1,
"client_addr": "0.0.0.0",
"advertise_addr": "127.0.0.1",
"ports": {
"dns": 53
},
"advertise_addr_wan": "127.0.0.1"
}start consul
1
sudo systemctl start consul
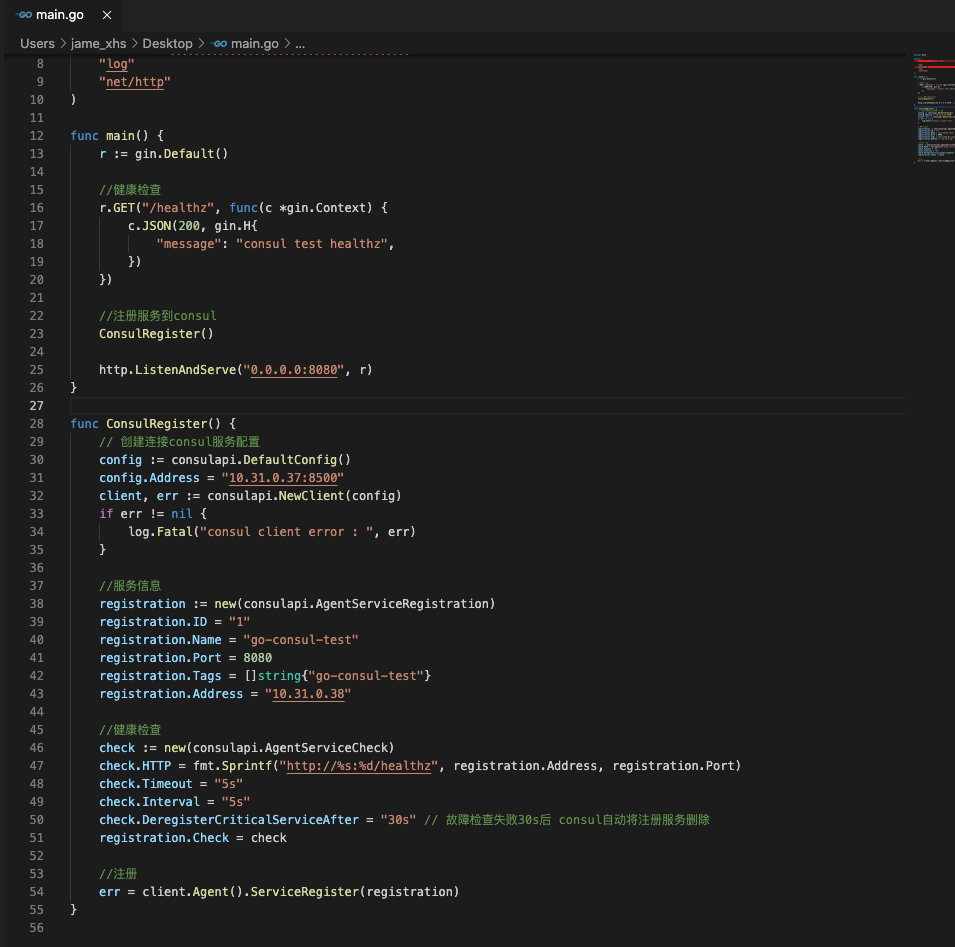
start service - golang version

1 | |
install etcd – need by Apache APISIX
1 | |
install openresty – need by Apache APISIX
1 | |
install Apache APISIX
- install from RPM, and you can get the latest version from https://github.com/apache/incubator-apisix/releases
1 | |
- change config.yaml
vi /usr/local/apisix/conf/config.yaml
add consul address to dns_resolver:
1 | |
- start Apache APISIX:
1
sudo apisix start
Test
- add route in Apache APISIX:
1
2
3
4
5
6
7
8
9
10curl http://127.0.0.1:9080/apisix/admin/routes/1 -H 'X-API-KEY: edd1c9f034335f136f87ad84b625c8f1' -X PUT -i -d '
{
"uri": "/healthz",
"upstream": {
"type": "roundrobin",
"nodes": {
"go-consul-test.service.consul:8080": 1
}
}
}'
go-consul-test.service.consul is registered DNS SRV by consul-test-golang service
- test:

1 | |

1 | |
能看该运行的demo已经被apisix给封装起来了。
本博客所有文章除特别声明外,均采用 CC BY-SA 4.0 协议 ,转载请注明出处!